
-
Products
-
Application


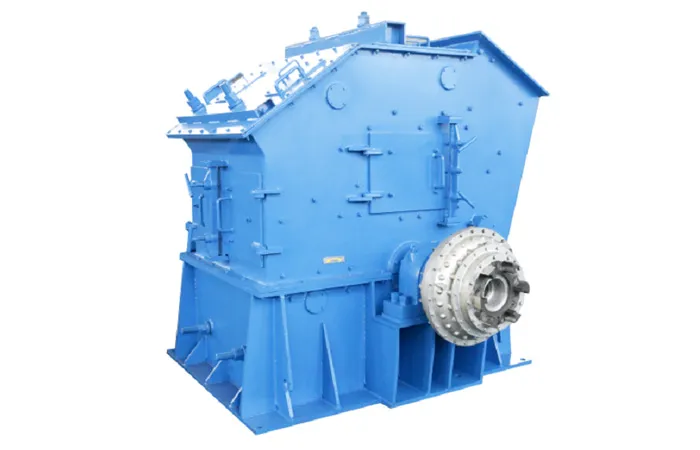
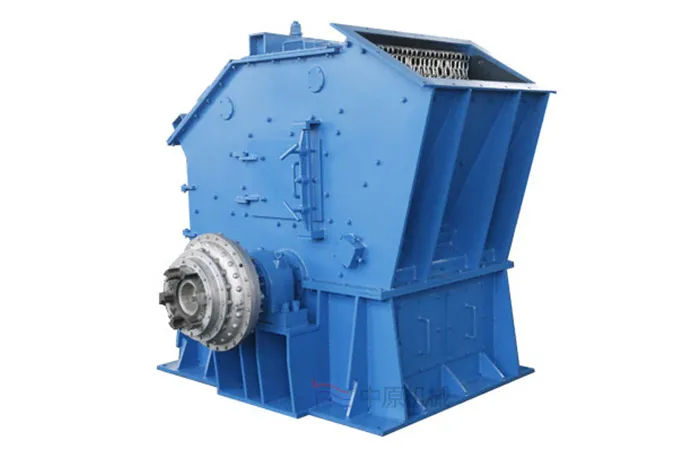
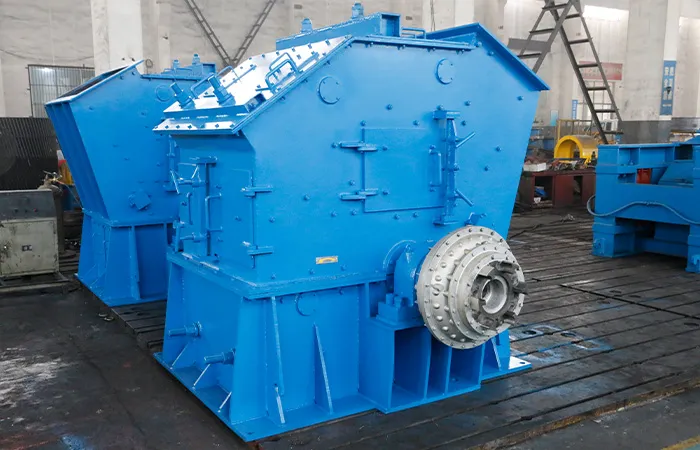
Replacing wear parts on an impact crusher is a crucial maintenance task to ensure optimal performance, efficiency, and safety. The main wear parts in an impact crusher are the blow bars, breaker plate liners (or impact plates), and side wear plates (or side liners). The specific procedure can vary slightly depending on the crusher model and manufacturer, but here's a general guide for each.

STOP THE CRUSHER: Completely shut down the crusher and any associated equipment (feeders, conveyors).
DISCONNECT POWER: Ensure all power sources are disconnected and locked out/tagged out to prevent accidental startup. This is non-negotiable.
SECURE THE ROTOR: If replacing blow bars, the rotor must be secured to prevent it from rotating unexpectedly.
CLEAR THE CRUSHING CHAMBER: Remove any remaining material from the crushing chamber.
USE APPROPRIATE PPE: Wear hard hats, safety glasses, steel-toed boots, gloves, and any other required personal protective equipment.
USE PROPER LIFTING GEAR: Wear parts can be very heavy. Always use appropriate lifting equipment (hoists, slings, etc.) and ensure they are rated for the weight.
WORK WITH A TEAM: Never attempt wear part replacement alone. A minimum of two people is usually recommended for safety and efficiency.
REFER TO THE OPERATOR'S MANUAL: Always consult your specific crusher's operator's and maintenance manual for detailed instructions, diagrams, and torque specifications.

Blow bars are the primary impact elements and typically wear out the fastest.
When to replace/turn blow bars:
When one face is worn down to its limit. Many blow bars are symmetrically shaped and can be flipped to use the other side, effectively doubling their lifespan.
Before they are worn through to prevent damage to the rotor.
If they show significant cracks or breakage.
Uneven wear can reduce crushing efficiency and product quality.
Tools typically needed:
Wrenches (often large, specialized)
Blow bar extraction clamp/tool (often supplied by the manufacturer)
Sledgehammer (sometimes)
Lifting equipment
Steps:
Prepare: Follow all general safety precautions above. Open the crusher's access hatches or adjust the crusher gap to provide sufficient working space.
Identify Worn Bars: Visually inspect all blow bars for wear, cracks, or breakage. Determine if they can be flipped or need full replacement.
Unlock/Remove Fasteners: Depending on the design, blow bars are usually secured by a locking system, wedges, or bolts. Unlock or loosen these fasteners. You might need specialized tools or a sledgehammer to dislodge wedges.
Extract Worn Blow Bars: Use the manufacturer-supplied extraction tool or appropriate lifting gear to carefully remove the worn blow bars from their housing on the rotor. Be mindful of their weight.
Inspect Rotor: Before installing new bars, thoroughly inspect the rotor for any damage, wear, or material buildup. Clean the housing where the blow bars sit.
Install New/Flipped Blow Bars:
Carefully insert the new or flipped blow bar into its designated slot on the rotor. Ensure it's correctly seated and aligned.
If flipping, make sure the unworn face is now exposed for crushing.
Crucial: Pay attention to the balance of the rotor. If replacing only some bars, ensure the weight distribution is maintained. Some manufacturers recommend replacing all blow bars simultaneously or in specific configurations (e.g., diametrically opposed) to maintain rotor balance.
Secure Fasteners: Tighten the locking mechanisms, wedges, or bolts according to the manufacturer's specified torque settings. Ensure the blow bar is firmly secured and cannot move.
Repeat: Repeat the process for all necessary blow bars.
Final Checks:
Double-check that all blow bars are correctly installed and secured.
Ensure there's no collision risk between the blow bars and the impact plates when the gap is adjusted.
Remove all tools and debris from the crushing chamber.
Test Run: Before full operation, run the crusher for a short period at a low speed to ensure everything is functioning correctly and there are no abnormal vibrations.
Re-check clamping bolts after a few hours of operation, if recommended by the manufacturer.

Breaker plate liners are installed in the crusher's housing and are impacted by the material thrown by the blow bars.
When to replace:
When they are worn down to their minimum thickness.
If they show significant cracks or breakage.
Uneven wear on breaker plates can affect product shape and crushing efficiency. Many designs allow for rotating liner plates to maximize their wear life.
Tools typically needed:
Wrenches
Lifting equipment
Possible specialized tools for removing bolts/pins
Steps:
Prepare: Follow all general safety precautions. Open access doors to the crushing chamber.
Identify Worn Liners: Inspect the breaker plate liners for wear. Note their position as some liners might be interchangeable or designed for specific areas.
Remove Fasteners: Breaker plate liners are typically bolted or pinned to the breaker plates. Remove these fasteners. You may need to use an impact wrench or other tools for stubborn bolts.
Extract Worn Liners: Carefully remove the worn liner plates. They can be heavy and awkward.
Clean and Inspect: Clean the mounting surfaces on the breaker plates. Inspect the breaker plates themselves for any damage or excessive wear.
Install New Liners:
Position the new liner plates onto the breaker plates, ensuring correct alignment.
Insert and hand-tighten the bolts or pins.
Secure Fasteners: Tighten all bolts to the manufacturer's specified torque. Ensure the liners are firmly secured to prevent movement during operation.
Repeat: Repeat for all necessary liner plates.
Final Checks:
Ensure all liners are properly installed and secured.
Check that there are no obstructions in the crushing chamber.
Remove all tools and debris.

Side wear plates protect the main frame and housing of the impact crusher from abrasive wear by the material.
When to replace:
When they are worn down to a critical thickness, exposing the main frame.
If they are significantly cracked or broken.
Tools typically needed:
Wrenches
Lifting equipment
Possible specialized tools
Steps:
Prepare: Follow all general safety precautions. Access the side wear plates through the crusher's opening.
Identify Worn Plates: Visually inspect the side wear plates.
Remove Fasteners: Side wear plates are usually bolted or clamped to the crusher's frame. Remove the bolts or release the clamping mechanisms.
Extract Worn Plates: Carefully remove the worn side wear plates.
Clean and Inspect: Clean the underlying frame structure. Inspect for any damage or wear to the main frame.
Install New Plates:
Position the new side wear plates, ensuring proper fit and alignment.
Insert and hand-tighten the bolts or engage the clamping mechanism.
Secure Fasteners: Tighten all fasteners to the manufacturer's specified torque.
Repeat: Repeat for all necessary side wear plates.
Final Checks:
Ensure all plates are properly installed and secured.
Remove all tools and debris.
Material Choice: The material of the wear parts (e.g., high manganese steel, high chromium iron, martensitic steel, ceramic inserts) is crucial for their lifespan and performance, depending on the abrasiveness and impact characteristics of the material being crushed. Consult your manufacturer or wear parts supplier for the best material for your specific application.
Preventative Maintenance: Regularly inspect wear parts to proactively identify wear and schedule replacements, minimizing unplanned downtime.
Record Keeping: Keep detailed records of wear part changes, including dates, operating hours, and material processed. This data helps predict wear rates and optimize replacement schedules.
Always prioritize safety and follow your machine's specific instructions. If you are unsure, contact the crusher manufacturer or a qualified service technician.

Official Agent of ZY MINING in Russia.
Please enter here.
Add: Luoxin Industrial Zone,Luoyang City,Henan Province P.R.C.
Tel: +86-379-67313306
E-mail: gloria@zyksjx.com